
How to do facial at home step by step naturally, this question comes in the mind of all those ladies who want to make their skin naturally glowing and healthy, that too without using chemical products and without spending on salon. So if all this is going on in your mind too, then you are at the right place because here we have told the way to do Natural facial at home.
Let’s see step by step how you can get salon-like facial results at home, that too only by using natural ingredients.
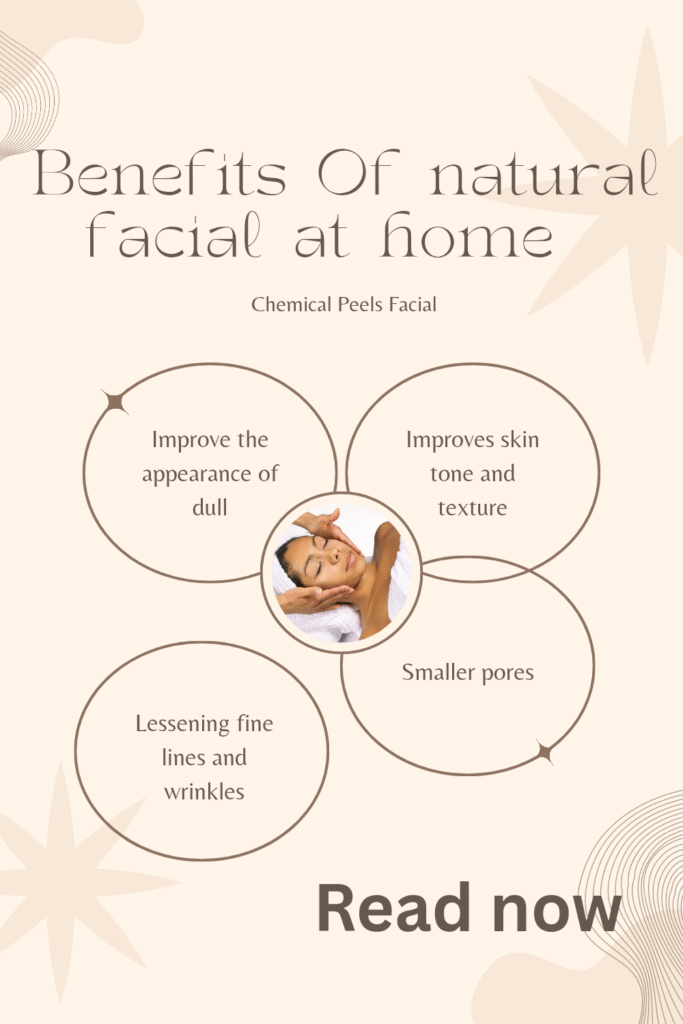
Benefits of Natural Facial at Home
Before we look at the benefits, let’s understand how to do facial at home step by step naturally and why it’s better than chemical facials.
- It gives natural glow to the skin which is the main result of facial for glowing skin naturally
- And dead skin cells are removed which makes your skin look smooth and fresh
- Along with this, the pores of the skin are cleaned and tightened which prevents blackheads and breakouts
- And acne, pimples, and dullness are gradually reduced
- Apart from this, blood circulation also improves which makes the skin look radiant
- And facial massage provides deep stress relief
- Homemade facial is absolutely safe, especially facial at home for all skin types when you use herbal ingredients
How to Do Facial at Home Step by Step Naturally – Complete Routine
Okay, Now let’s dive into the complete routine that shows you exactly how to do facial at home step by step naturally with 100% herbal methods.
Step 1 – Cleanse Your Face (Natural Deep Cleansing)
Whenever you start a facial, it is important to cleanse your face thoroughly so that oil, dirt and makeup are removed from the surface. This step is a basic part of deep cleansing at home.
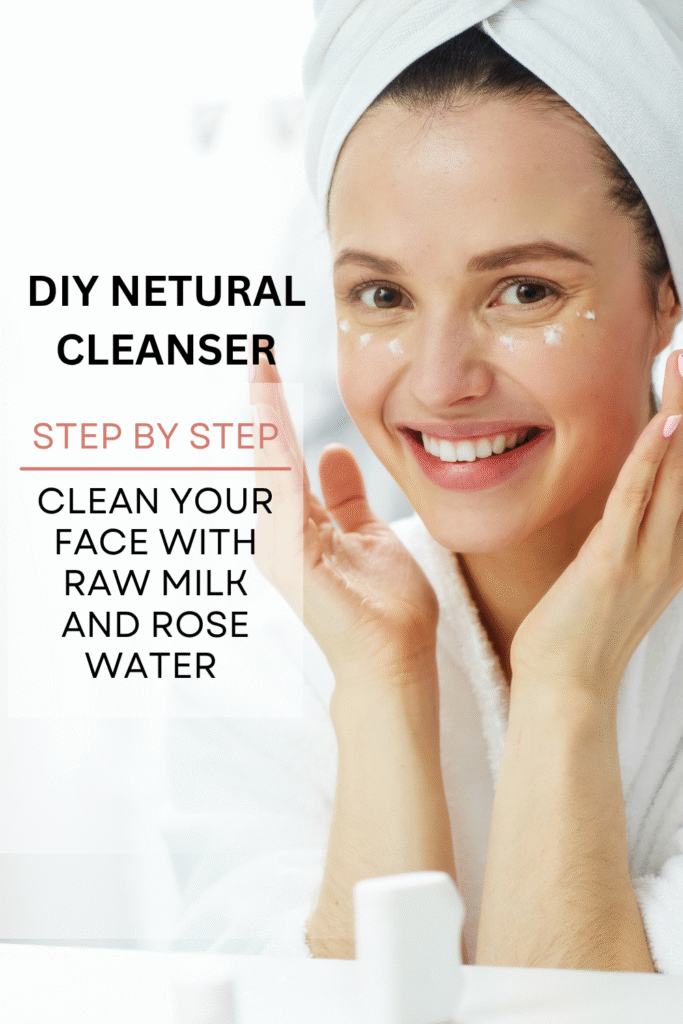
DIY Natural Cleanser:
- 2 tbsp raw milk
- 1 tsp rose water
➡ Gently wipe face with the help of a cotton ball
➡ Raw milk is one of the ingredients that deeply cleanses the skin and rose water acts as a natural toner
This step is a perfect start to your DIY facial at home routine and it makes homemade skin cleansing safe and effective.
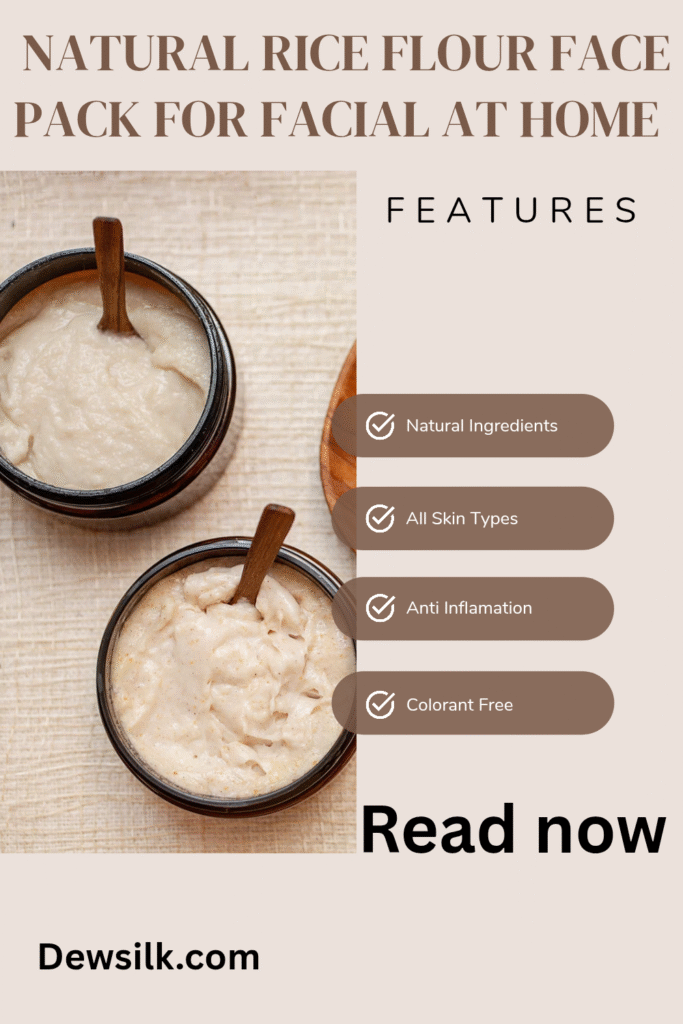
Step 2 – Exfoliate with a Homemade Face Scrub
Exfoliation removes the dead skin cells accumulated on the face, which makes the skin look soft, smooth and fresh. This step is a must in every homemade facial step.
Natural Face Scrub:
- 1 tsp rice flour
- 1 tsp honey
Few drops lemon juice this is optional good for oily skin
➡ With this DIY face scrub for glowing skin, gently massage the face in circular motion for 2 to 3 minutes
➡ Then rinse with normal water
This natural exfoliator gently polishes the skin and helps to enhance glow.
Step 3 – Steam to Open Pores Naturally
Now you have to take some steam which opens the pores naturally and helps in making the next skincare steps more effective.
How to take steam at home:
- First of all take 1 bowl of hot water and then add green tea or neem leaves to it
- Now cover your head with a towel and do facial steaming at home for 5 minutes
This step releases toxins and excess oil from the skin and also enhances blood flow. Herbal steam for skin makes the face look clear and refreshed.
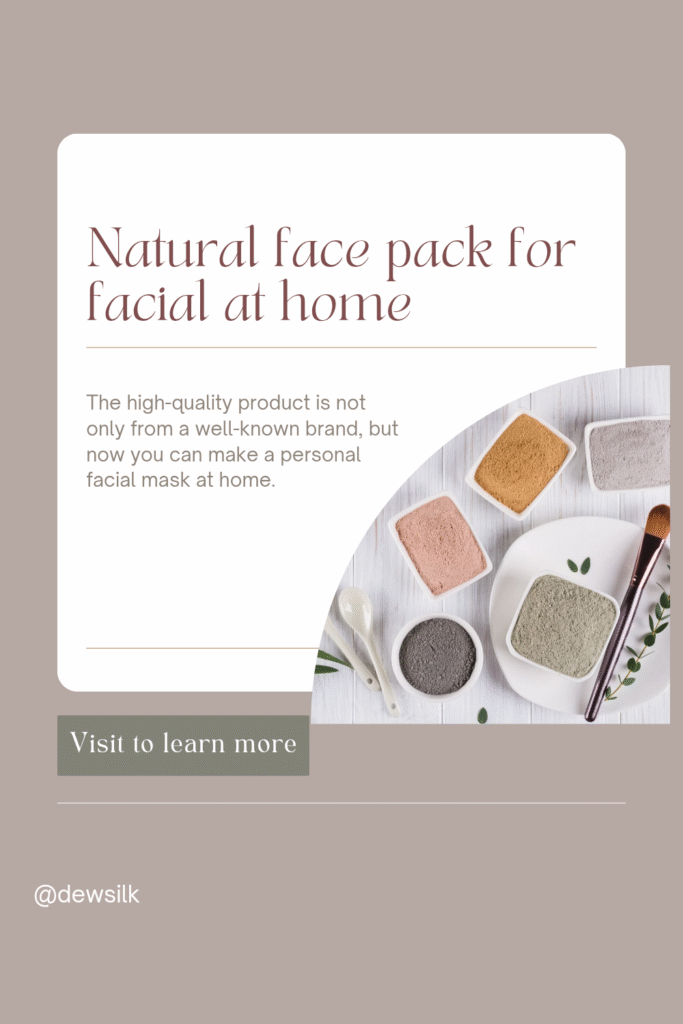
Step 4 – Apply a Natural Face Pack (Face Mask)
After following these steps, now your skin is ready for deep nourishment, so apply homemade herbal face pack according to your skin type and use natural ingredients for facial.
DIY Herbal Face Pack:
- 1 tbsp multani mitti
- ½ tsp turmeric
- 1 tbsp curd
- Few drops of rose water
➡ Mix all these mixtures and apply evenly on the face and wash it after 15 to 20 minutes.
This homemade facial mask soothes, brightens and refreshes the skin. Multani mitti face pack is especially effective for oily skin.
Step 5 – Tone Your Skin Naturally
Toning is necessary after face pack as it tightens the pores and balances the pH level of the skin. This step refreshes the skin and prepares it for moisturization.
- Natural Toners:
- Rose water
- Cucumber juice
- Green tea toner
➡ Apply gently with a cotton pad or spray bottle.
These DIY steps are essential if you want to master how to do facial at home step by step naturally without expensive products.
Step 6 – Moisturize with Natural Ingredients
Now it is time to hydrate your skin. Natural moisturizers make the skin look soft, plump and healthy glowing. This step is the final and essential part of moisturize after facial routine.
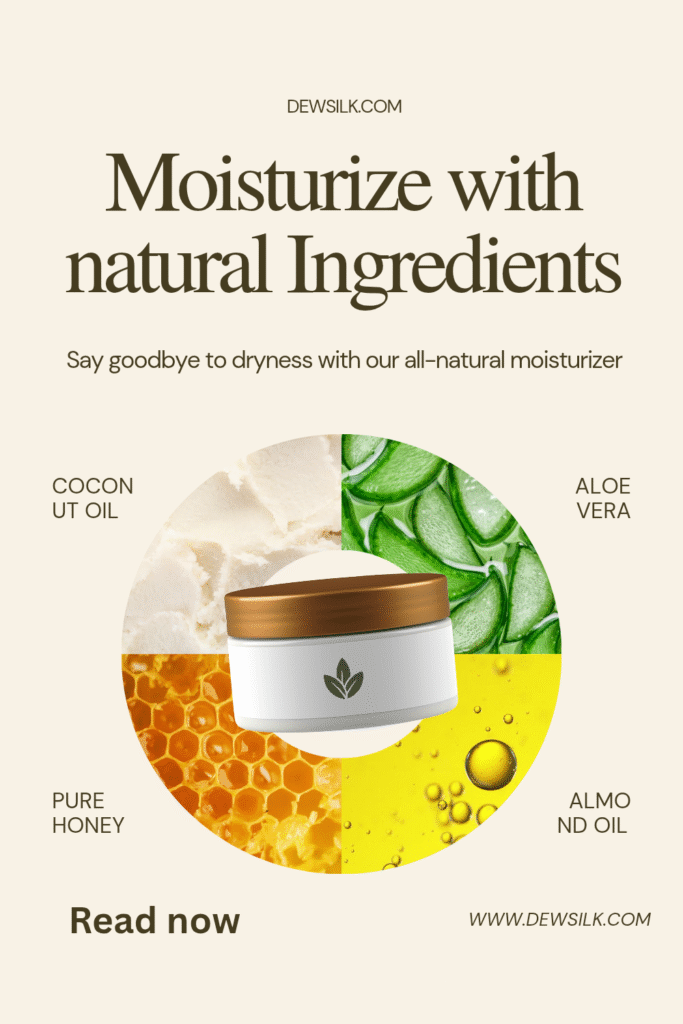
Moisturizer Options:
- Aloe vera gel – for all skin types
- Almond oil – best for dry skin
- Coconut oil – for extra nutrition
- Vitamin E capsule + aloe vera – for bright glow
➡ Massage gently in upward motion for 3 to 5 minutes.
This DIY skincare step deeply nourishes the skin and Aloe vera for skin gives natural hydration without feeling greasy.
Step 7 – Ice Massage for Instant Glow (Optional)
If you want quick and fresh instant glow then definitely try this optional step.
➡ Wrap an ice cube in a soft cotton cloth and gently rub it on face for 2 minutes.
Benefits:
- This tightens skin
- Reduces puffiness
- And improves blood circulation, which gives a natural glow
This is a simple and effective instant glow home remedy and you get noticeable results with its regular use. Ice cube for skin tightening is also one of the very popular glowing skin tips.
Best Natural Ingredients for Facial at Home (By Skin Type)
It is important to use different natural ingredients for facial for every skin type so that the results are effective and there are no side effects. Use these ingredients for your homemade skincare routine based on your skin type.
For Oily Skin
- Fuller’s earth – it absorbs excess oil
- Tomato pulp – it tightens pores
- Neem powder – it reduces acne and pimples
These ingredients are most suitable for facial for all skin types including oily skin.
For Dry Skin
- Honey – natural moisturizer
- Milk cream – intense hydration
- Banana pulp – makes skin soft and nourished
All these ingredients have proven to be helpful in deeply nourishing dry skin and making it smooth.
For Combination Skin
- Aloe vera – balances oil and hydration
- Rose water – gentle toner
- Papaya pulp – brightening and gentle exfoliation
This is the best combo for mixed skin type which balances both oily and dry areas.
Pro Tips for Natural Facial at Home
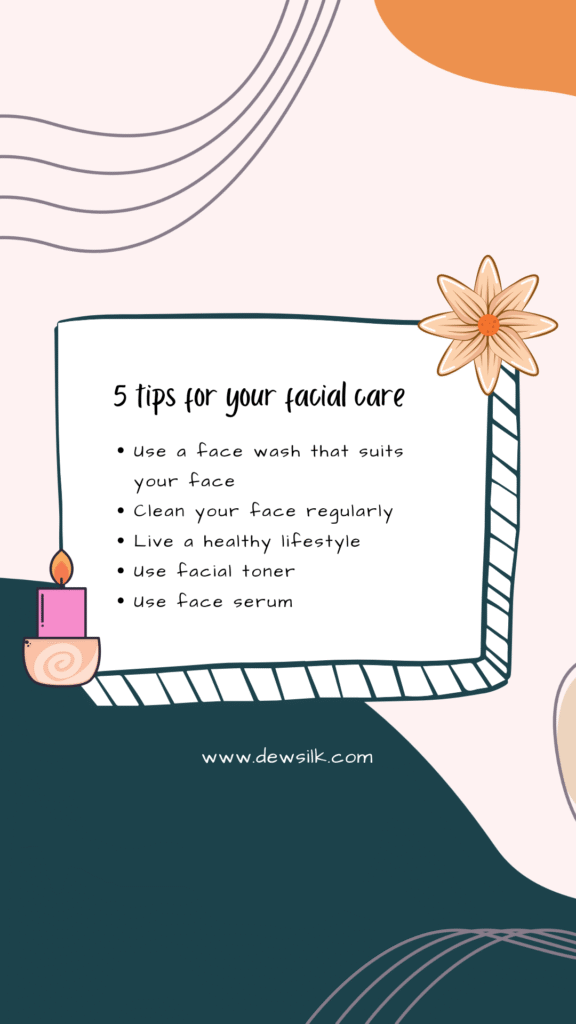
If you want to do natural facial at home then keep in mind these expert tips for better results and glowing skin:
- Always use clean tools and clean hands to avoid skin infections
- Do facial only once in 10 to 15 days, overdoing can damage the skin
- Avoid over scrubbing and excessive steaming as it can irritate the skin
- Avoid direct sun exposure after facial, especially without sunscreen
- Drink lots of water and follow a healthy diet for long-lasting natural glow
These DIY steps are essential if you want to master how to do facial at home step by step naturally without expensive products.
H2: FAQs on How to Do Facial at Home Step by Step Naturally
Find answers to these common questions that will help you understand how to do facial at home step by step naturally, which natural face pack is best, and the right facial routine for glowing skin.

Q. Can we do daily facial?
No, daily facial can damage the skin. Best time is once every 10 to 15 days.
Q. Which is the best natural face pack for glowing skin?
Aloe vera + turmeric + honey combination is best for instant glow.
Q. When do facial results appear?
Visible glow appears after a single session but long-term results are seen in 3 to 4 weeks.
Conclusion: How to Do Facial at Home Step by Step Naturally
Now you have got full clarity that how to do facial at home step by step naturally using herbal, natural, and safe ingredients, there is no need to go to the salon, glowing and fresh skin can be obtained just by using natural items from your kitchen like honey, aloe vera, turmeric, multani mitti.
Definitely include this routine in your natural skincare routine.
It is safe, budget friendly, and its result is also 100% effective!
Do Your Natural Facial Now
🌼 Start Your At Home Facial Today